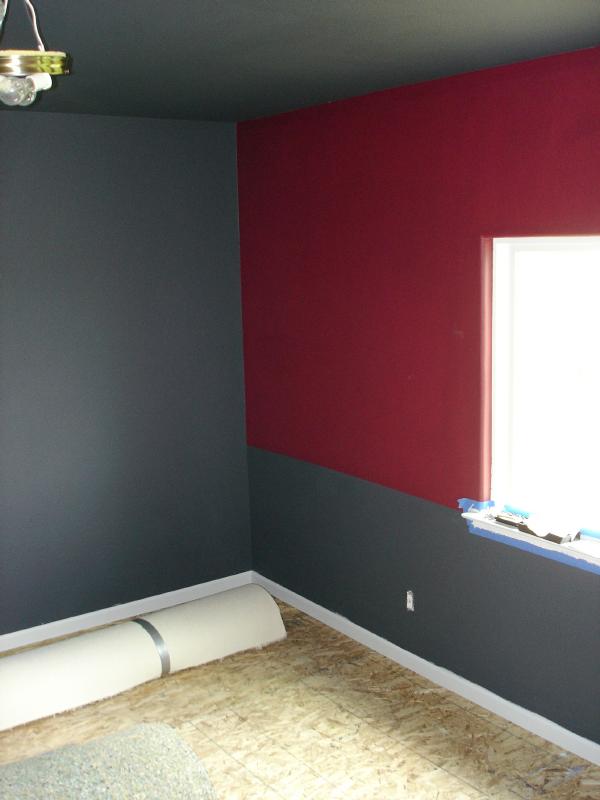
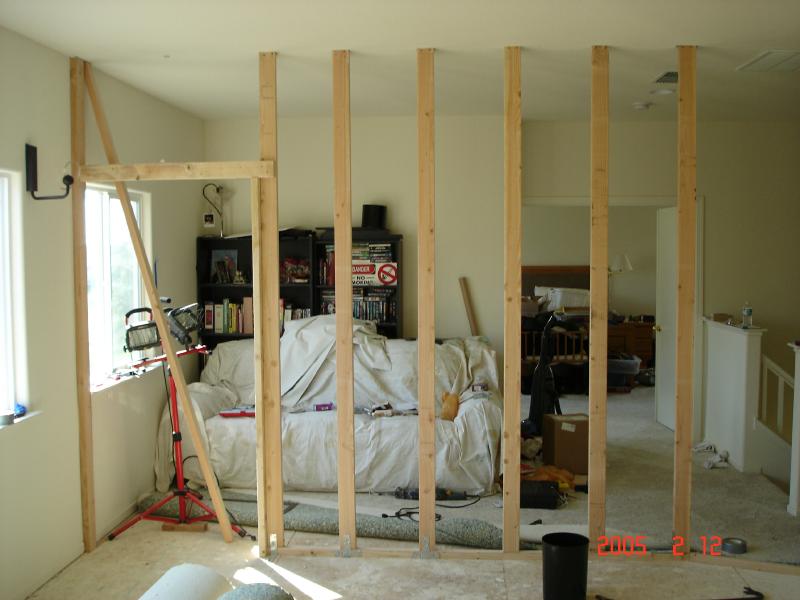
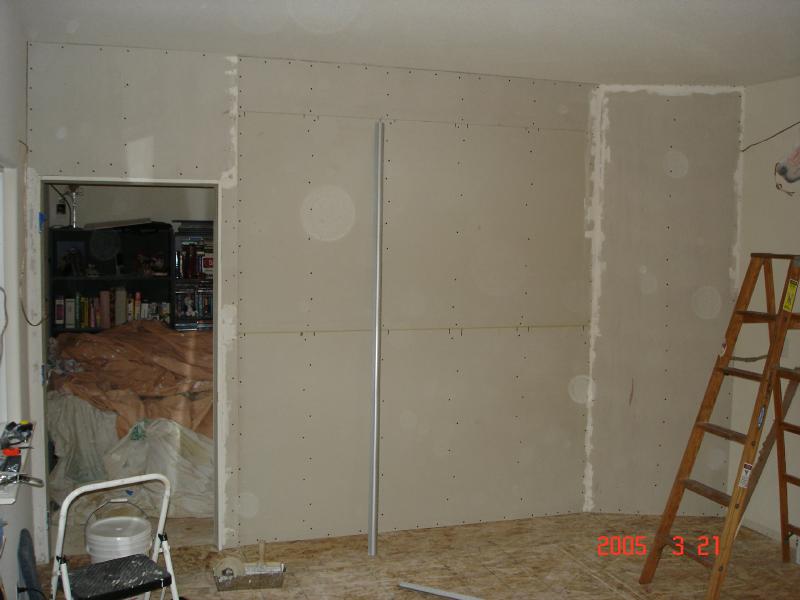
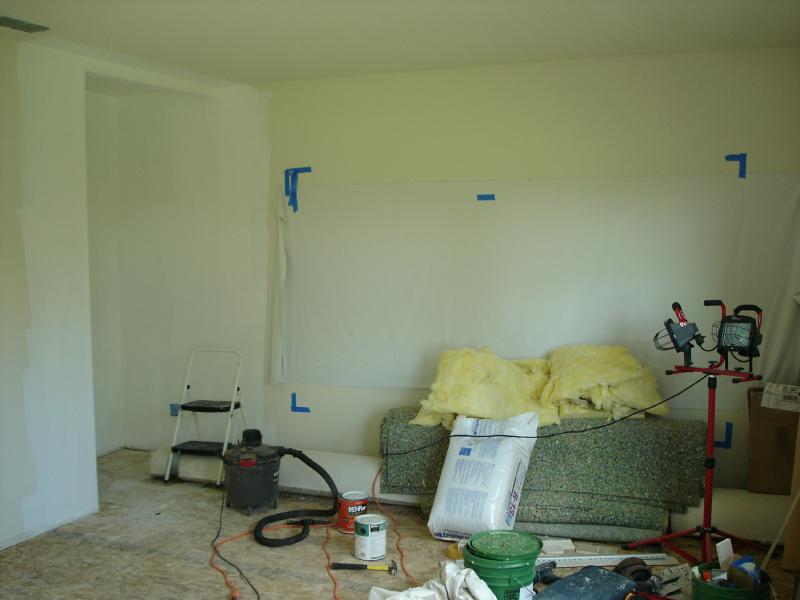
The front right corner, where the DVD rack will go:
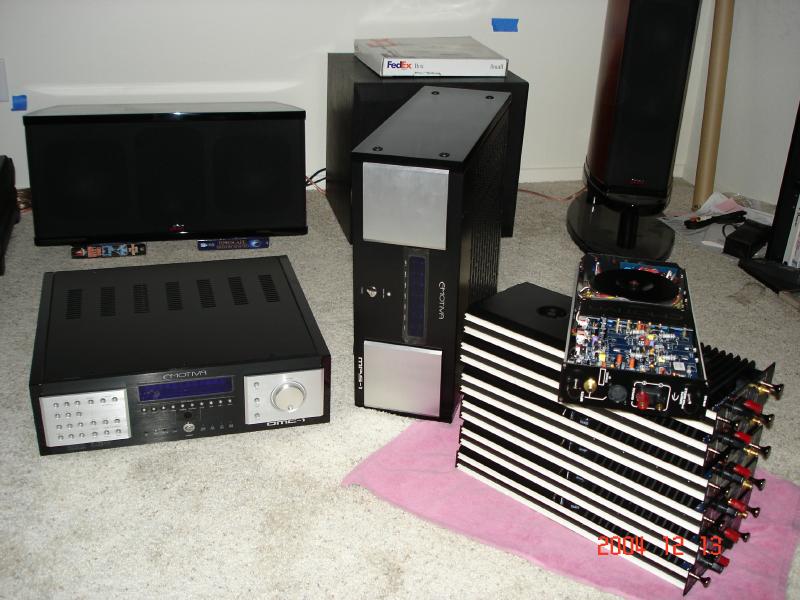
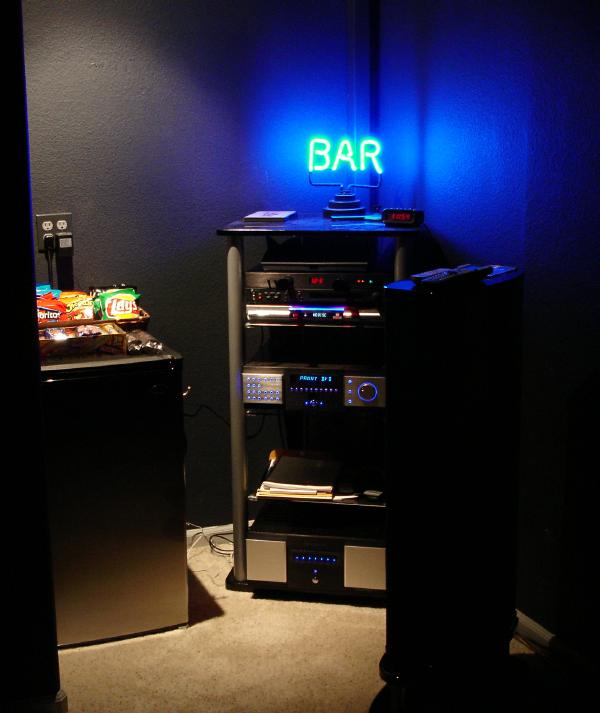
The new equipment alcove
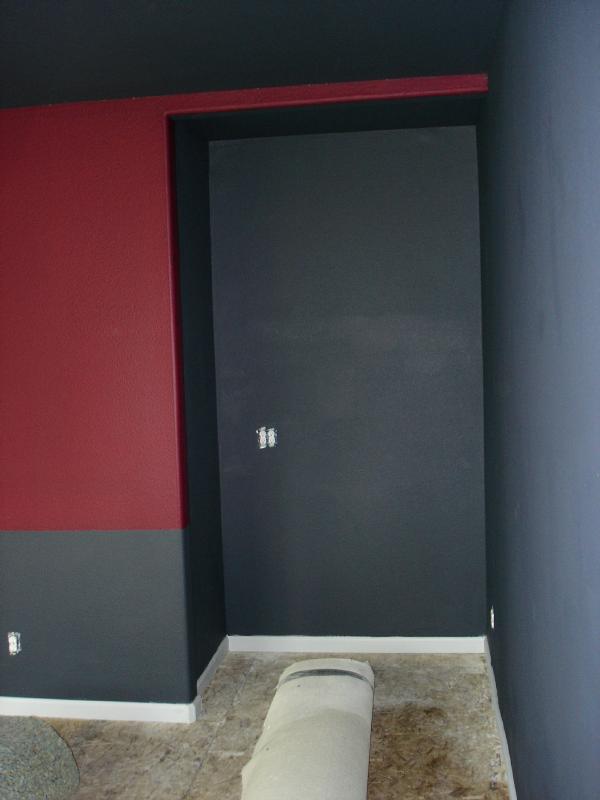
And...
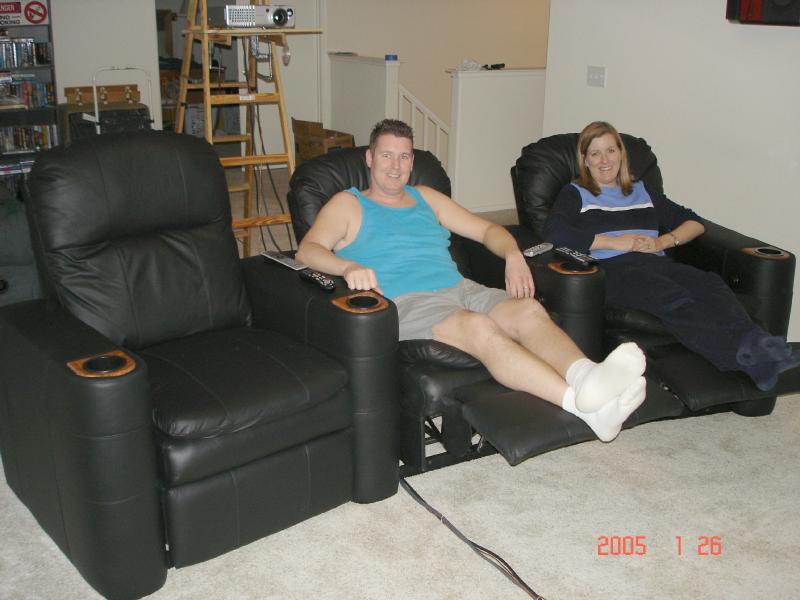
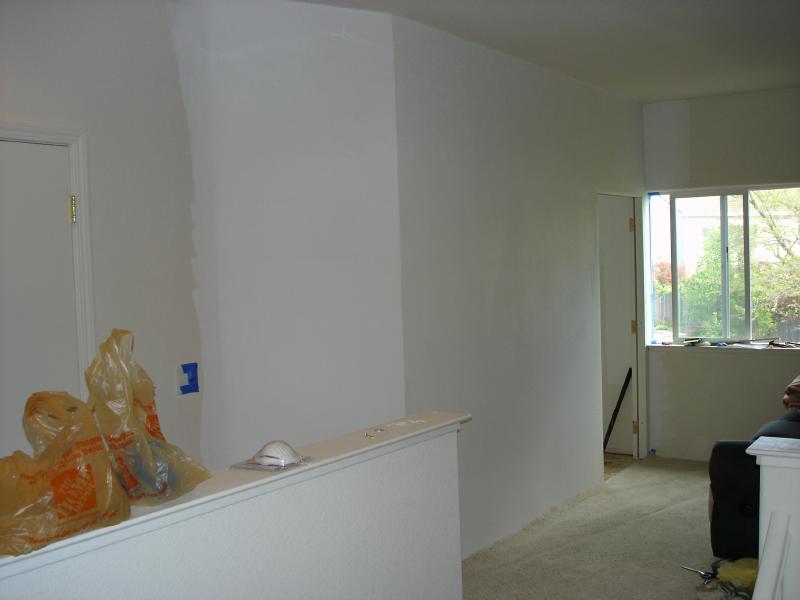
Carpeted, lighting, equipment & seating
installed
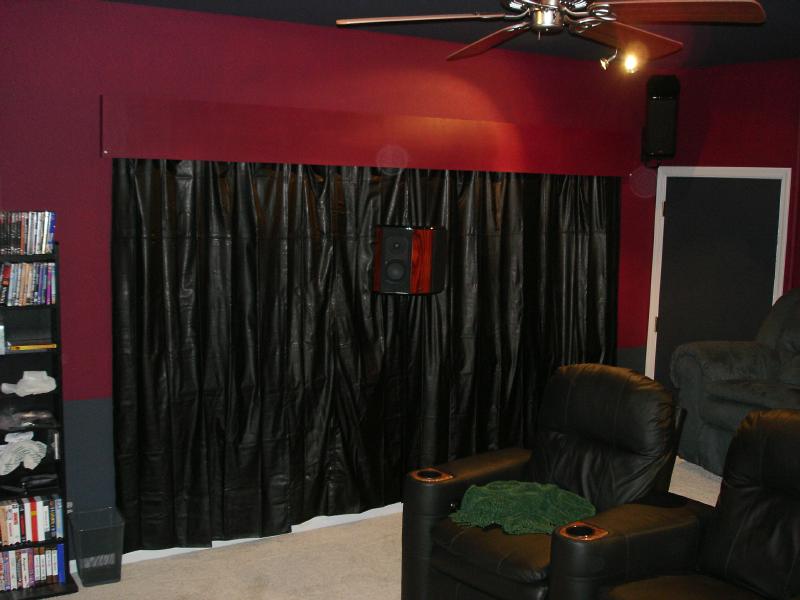
Now -- Curtains are in, door installed! At first, I was not sure what to do -- but in the end, kept coming back to these. In the end, I installed a wall of "fake-leather" curtains over both windows - behind the speaker. These are totally light-blocking, and the valence on top prevents light coming up.
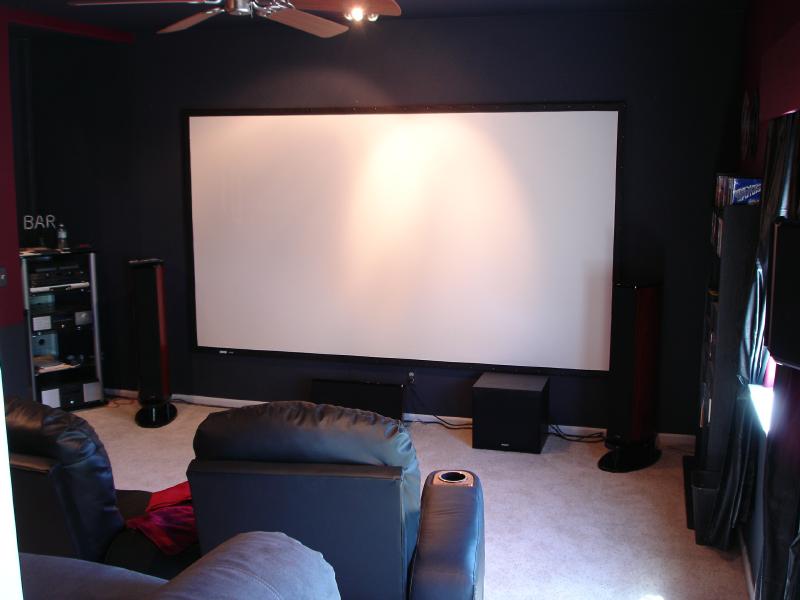
Screen installed, snack shack set up
I ended up going with a 133" DaLite Cinema Vision screen. It was
fairly easy to set up.
For the snack shack, I bought a stainless steel fridge, stocked
full of all sorts of beverages, and snacks on top. It sits right
next to my equipment rack in the alcove.
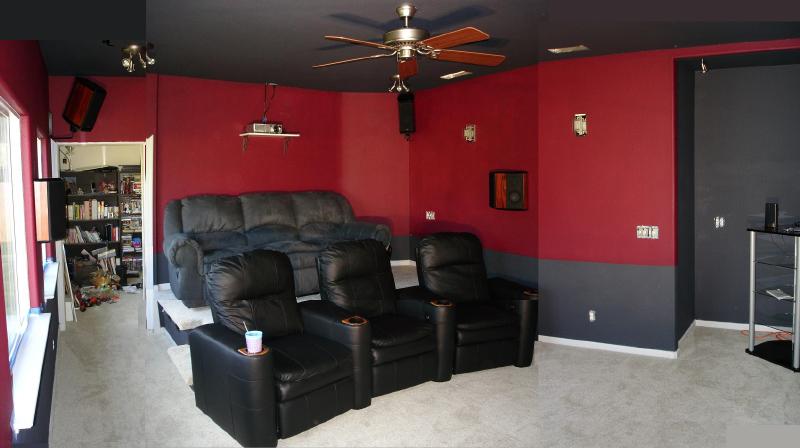
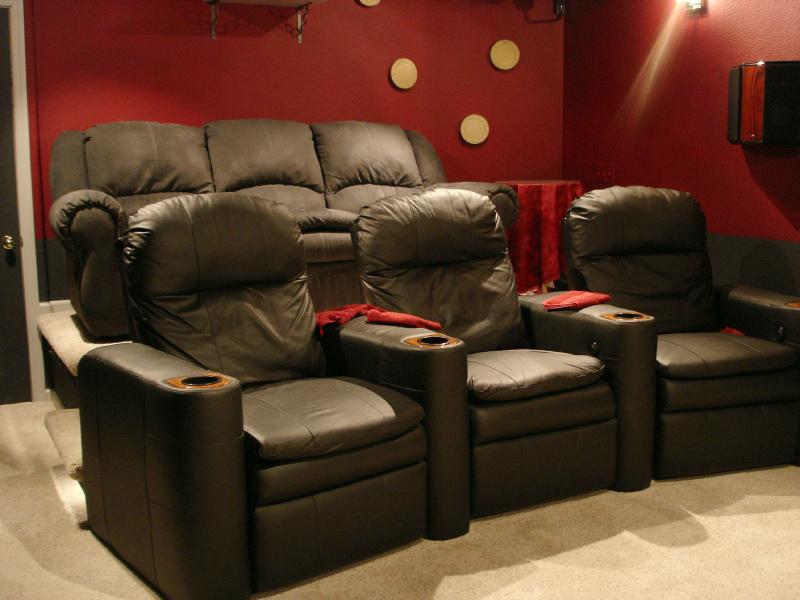
Finally, here is a picture of the main section of the finished theater.
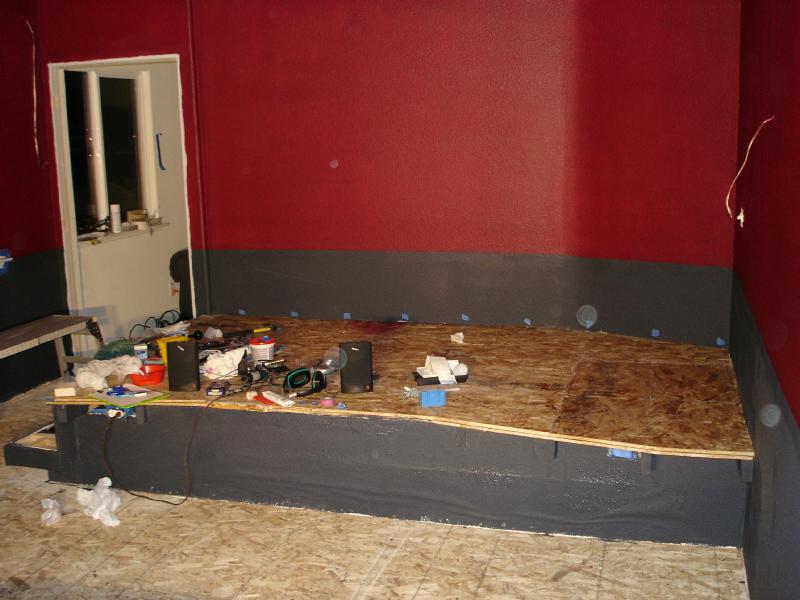
The rear platform is about 18" higher than the main floor with a
dual-reclining sofa, providing a "stadium-style" seating. This
lets even short people easily see over the heads of people in front.
Things left to do eventually:
1) install a silent vent fan above the alcove to draw heat from the
room (thereby pulling cooler air in from outside or other rooms).
2) install crown moulding and a chair rail
3) build a custom-sized speaker stand for the center speaker (currently
angled up by being propped on a block of wood with a towel!)